
MaWood Garden Cube · Inside the workshop
Quality starts with the details.
Look beneath the surface: our photos show timber frames, connections and roof details, from prepared components to the finished assembly.
Timber structure
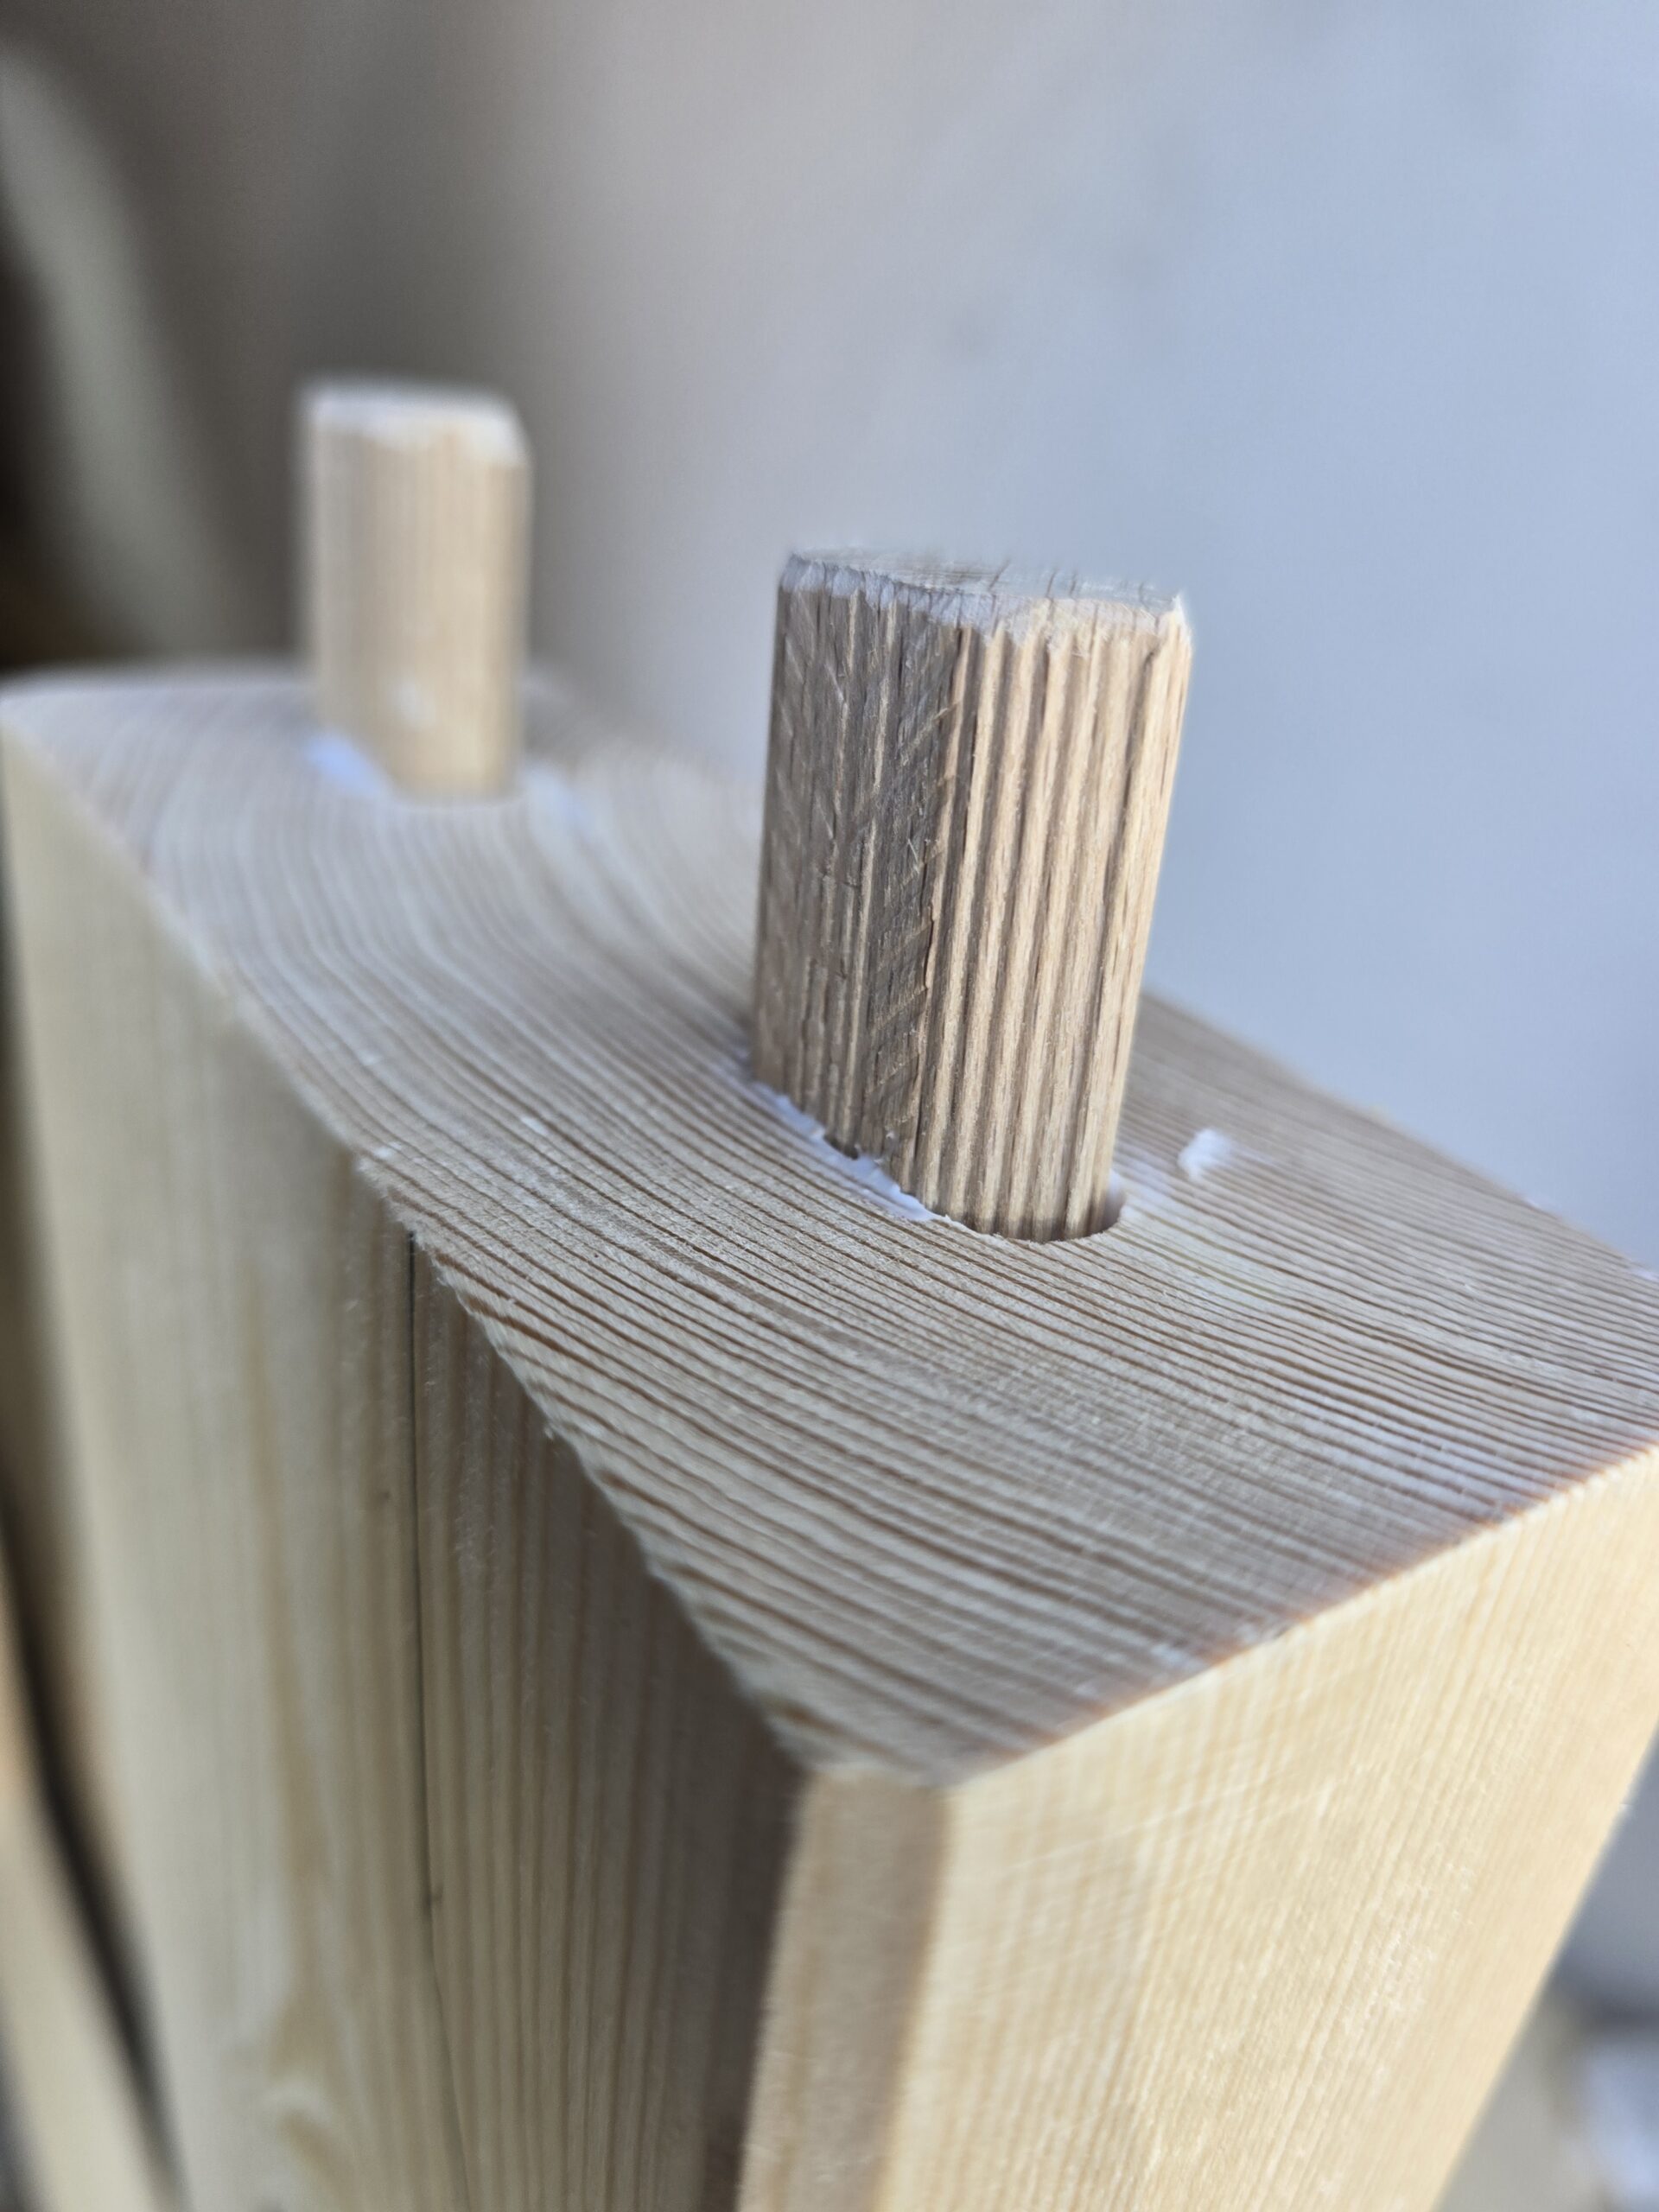
01 / IN DETAIL
Timber joints in detail
The close-up shows two grooved wooden dowels at the end of a frame component. It illustrates how the joint is prepared before the timber parts are assembled. The grain and machined surfaces remain visible.
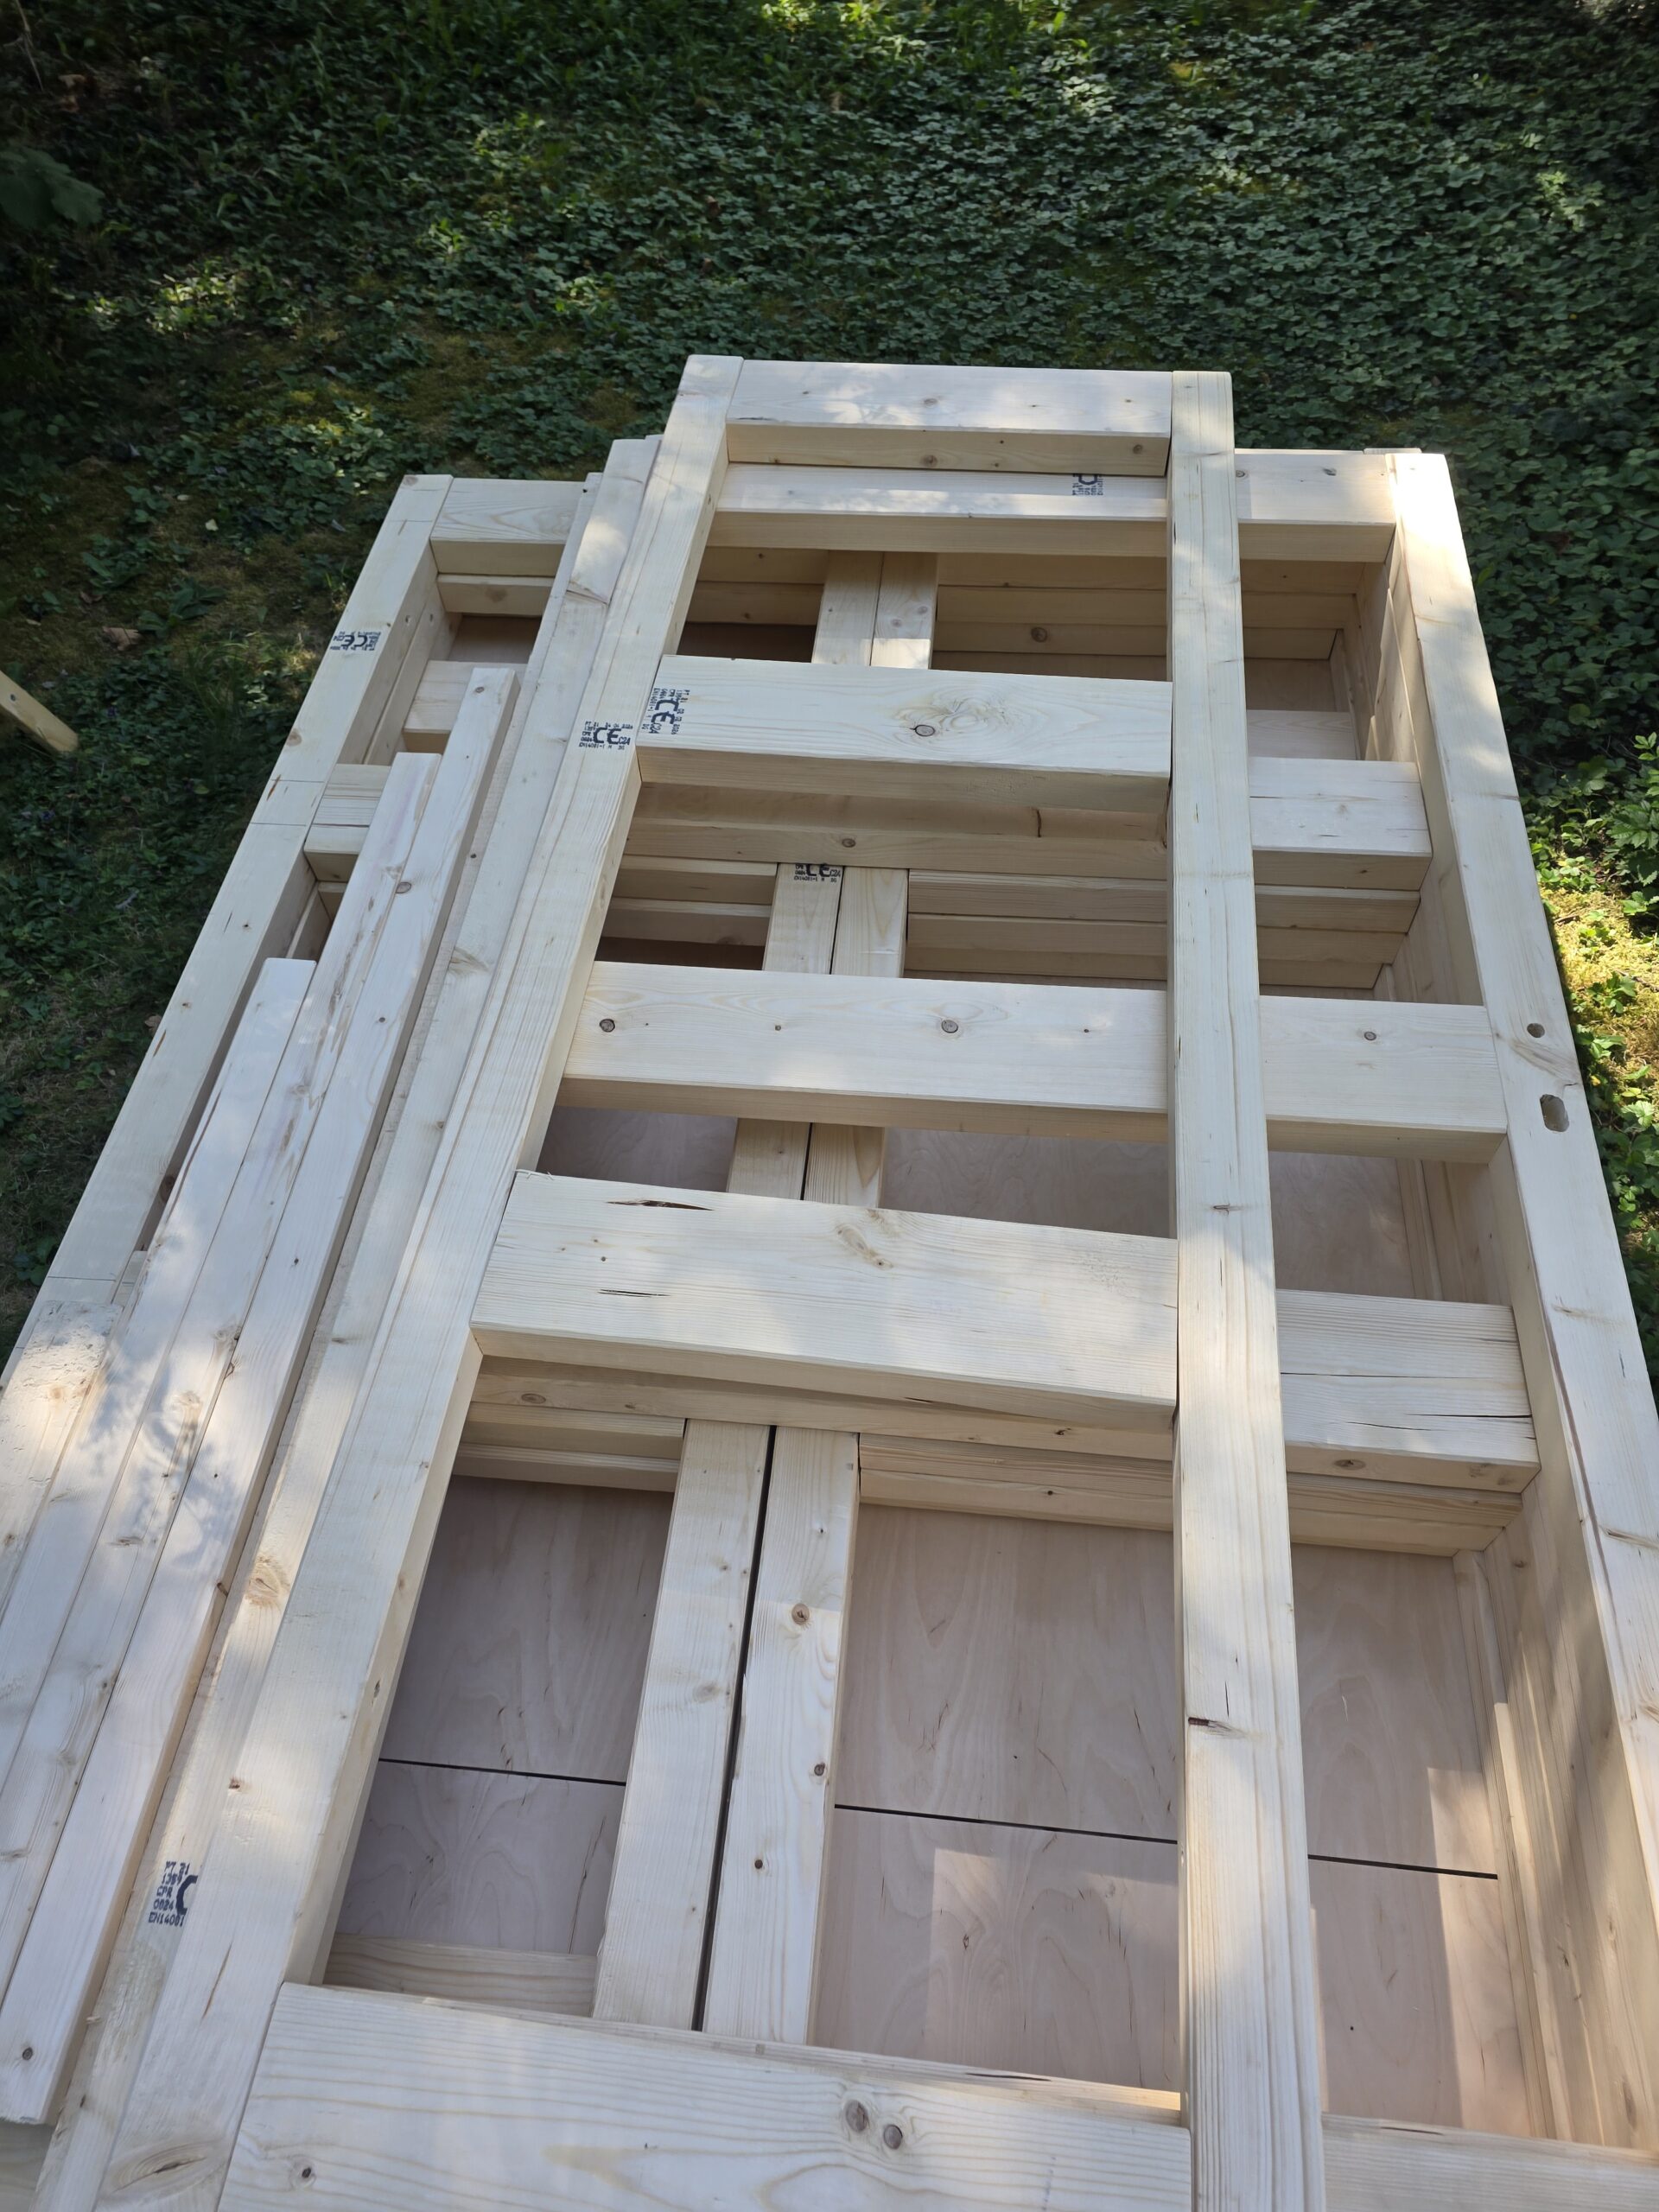
02 / IN DETAIL
Prepared wall elements
Wall elements are prepared from vertical posts and horizontal rails. The photo shows the frames before assembly and their repeated arrangement, revealing the structure that will later sit behind the exterior cladding.
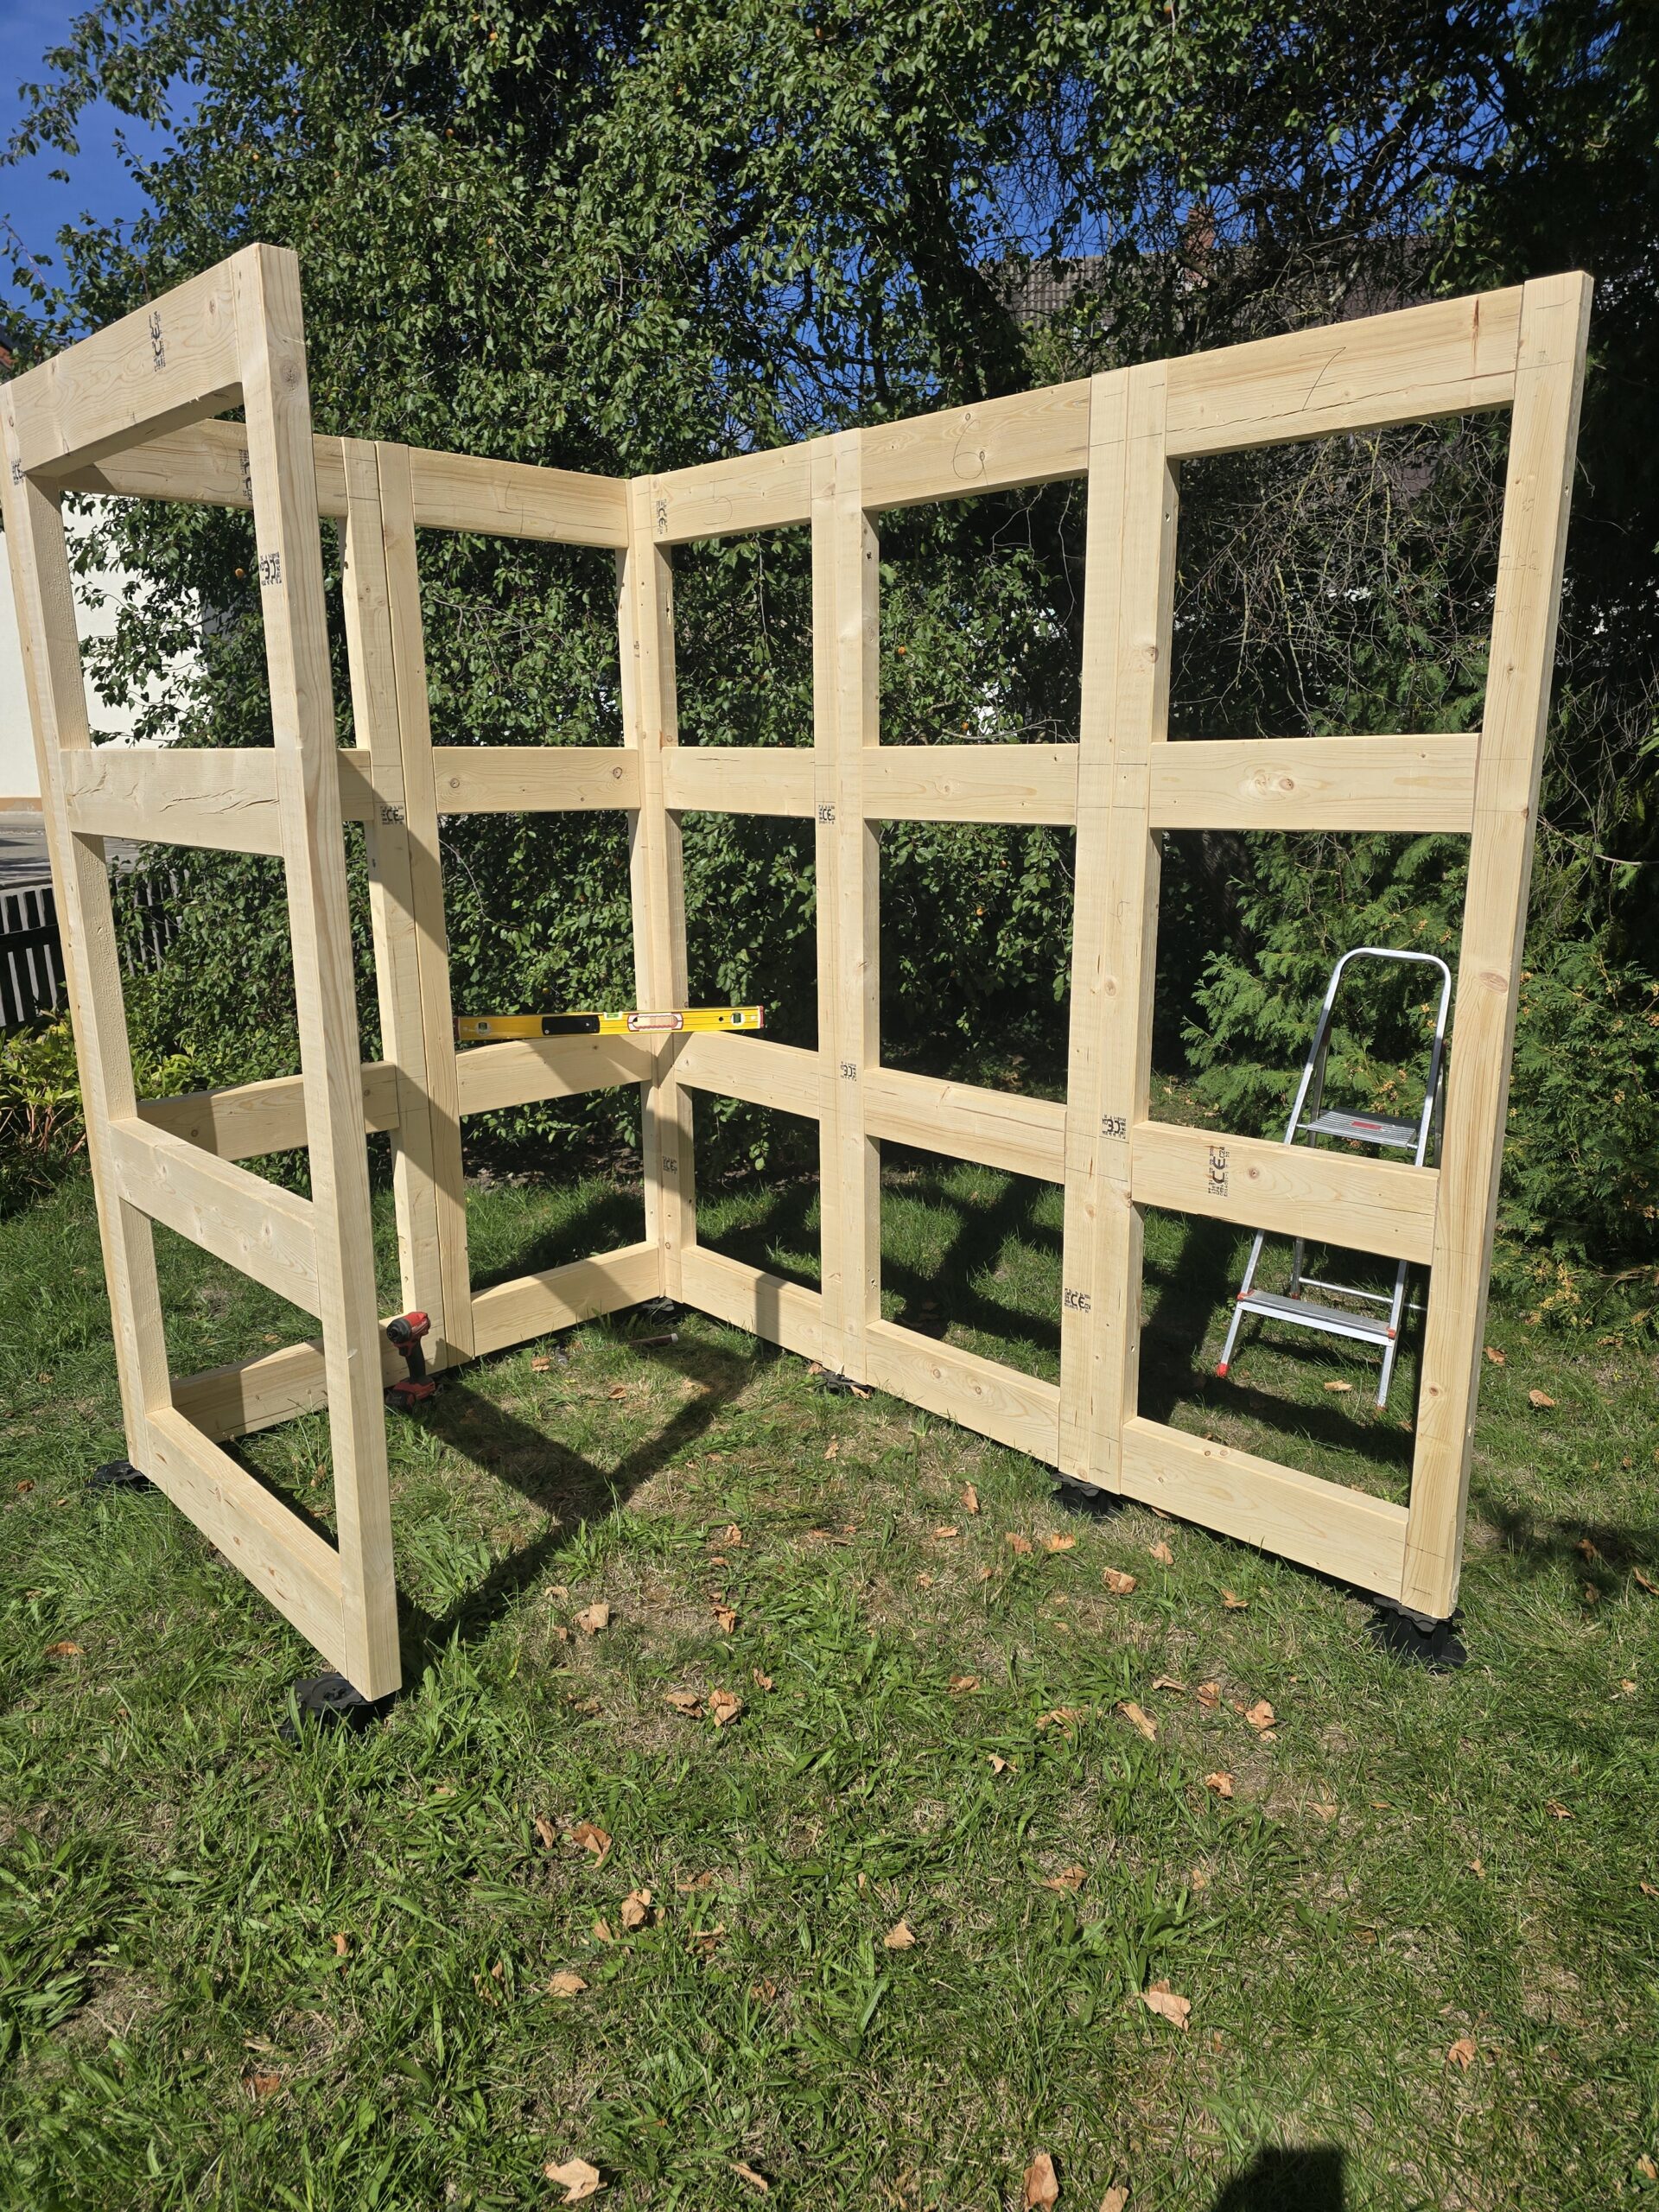
03 / IN DETAIL
The Cube takes shape
As the wall elements are joined, the room shape and corners become visible. The photo shows assembly before exterior cladding, revealing the frame arrangement and individual work stages.
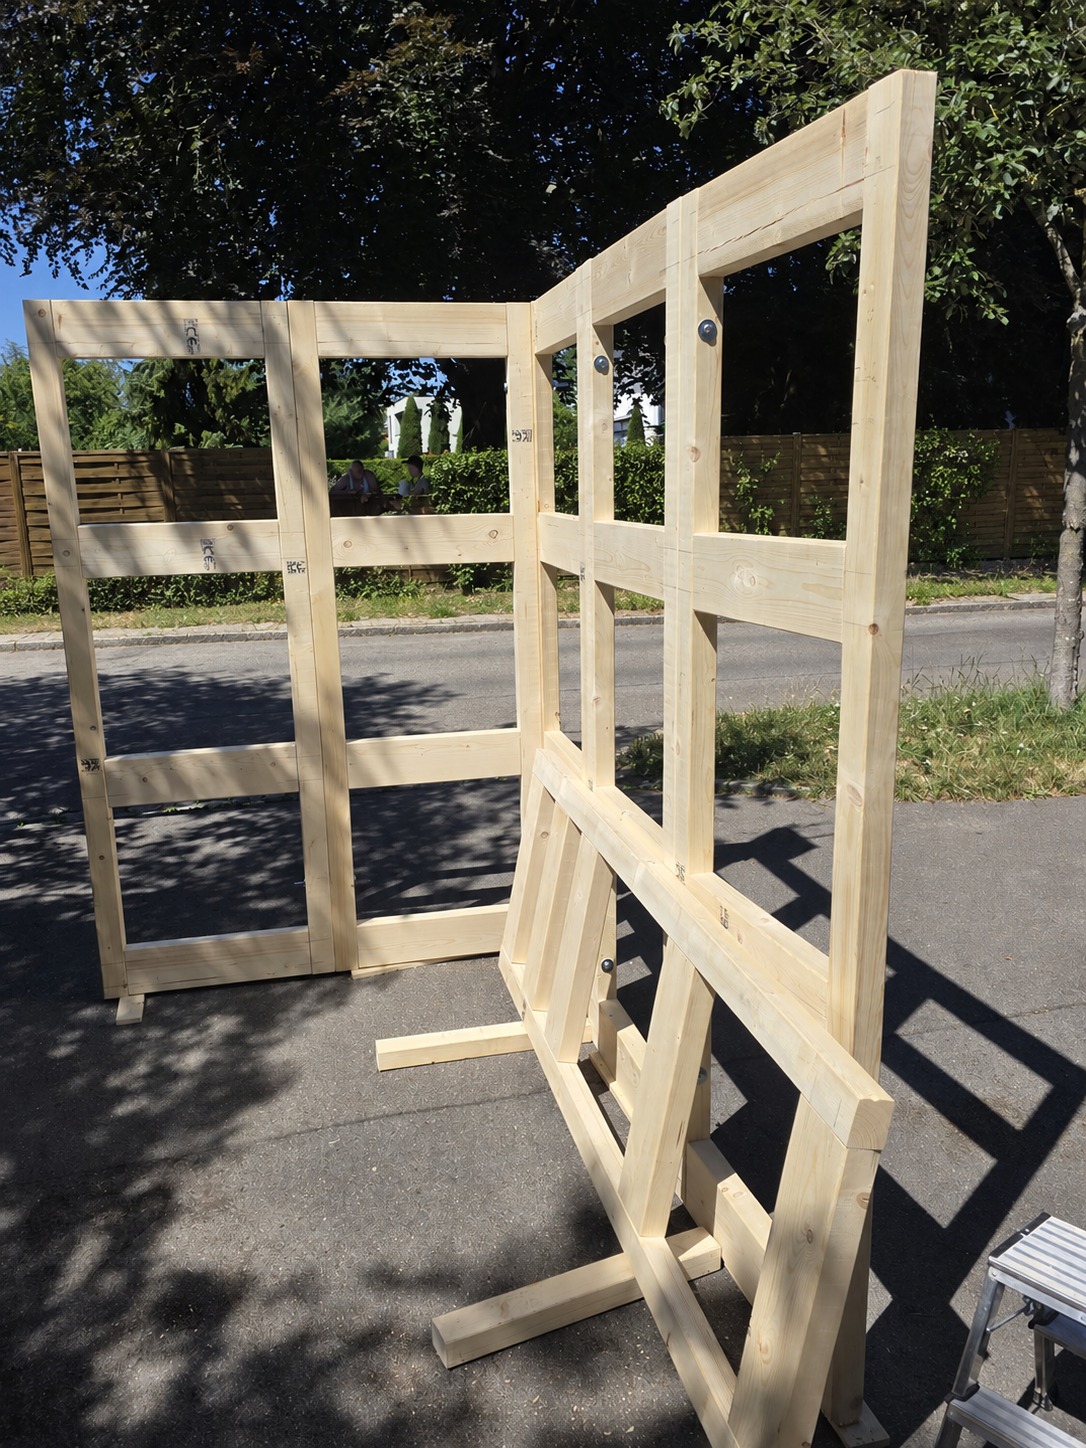
04 / IN DETAIL
Connections during assembly
This view shows joined wall frames with visible bolts and washers at individual connections, illustrating assembly before the cladding is attached.
Roof details
05 / IN DETAIL
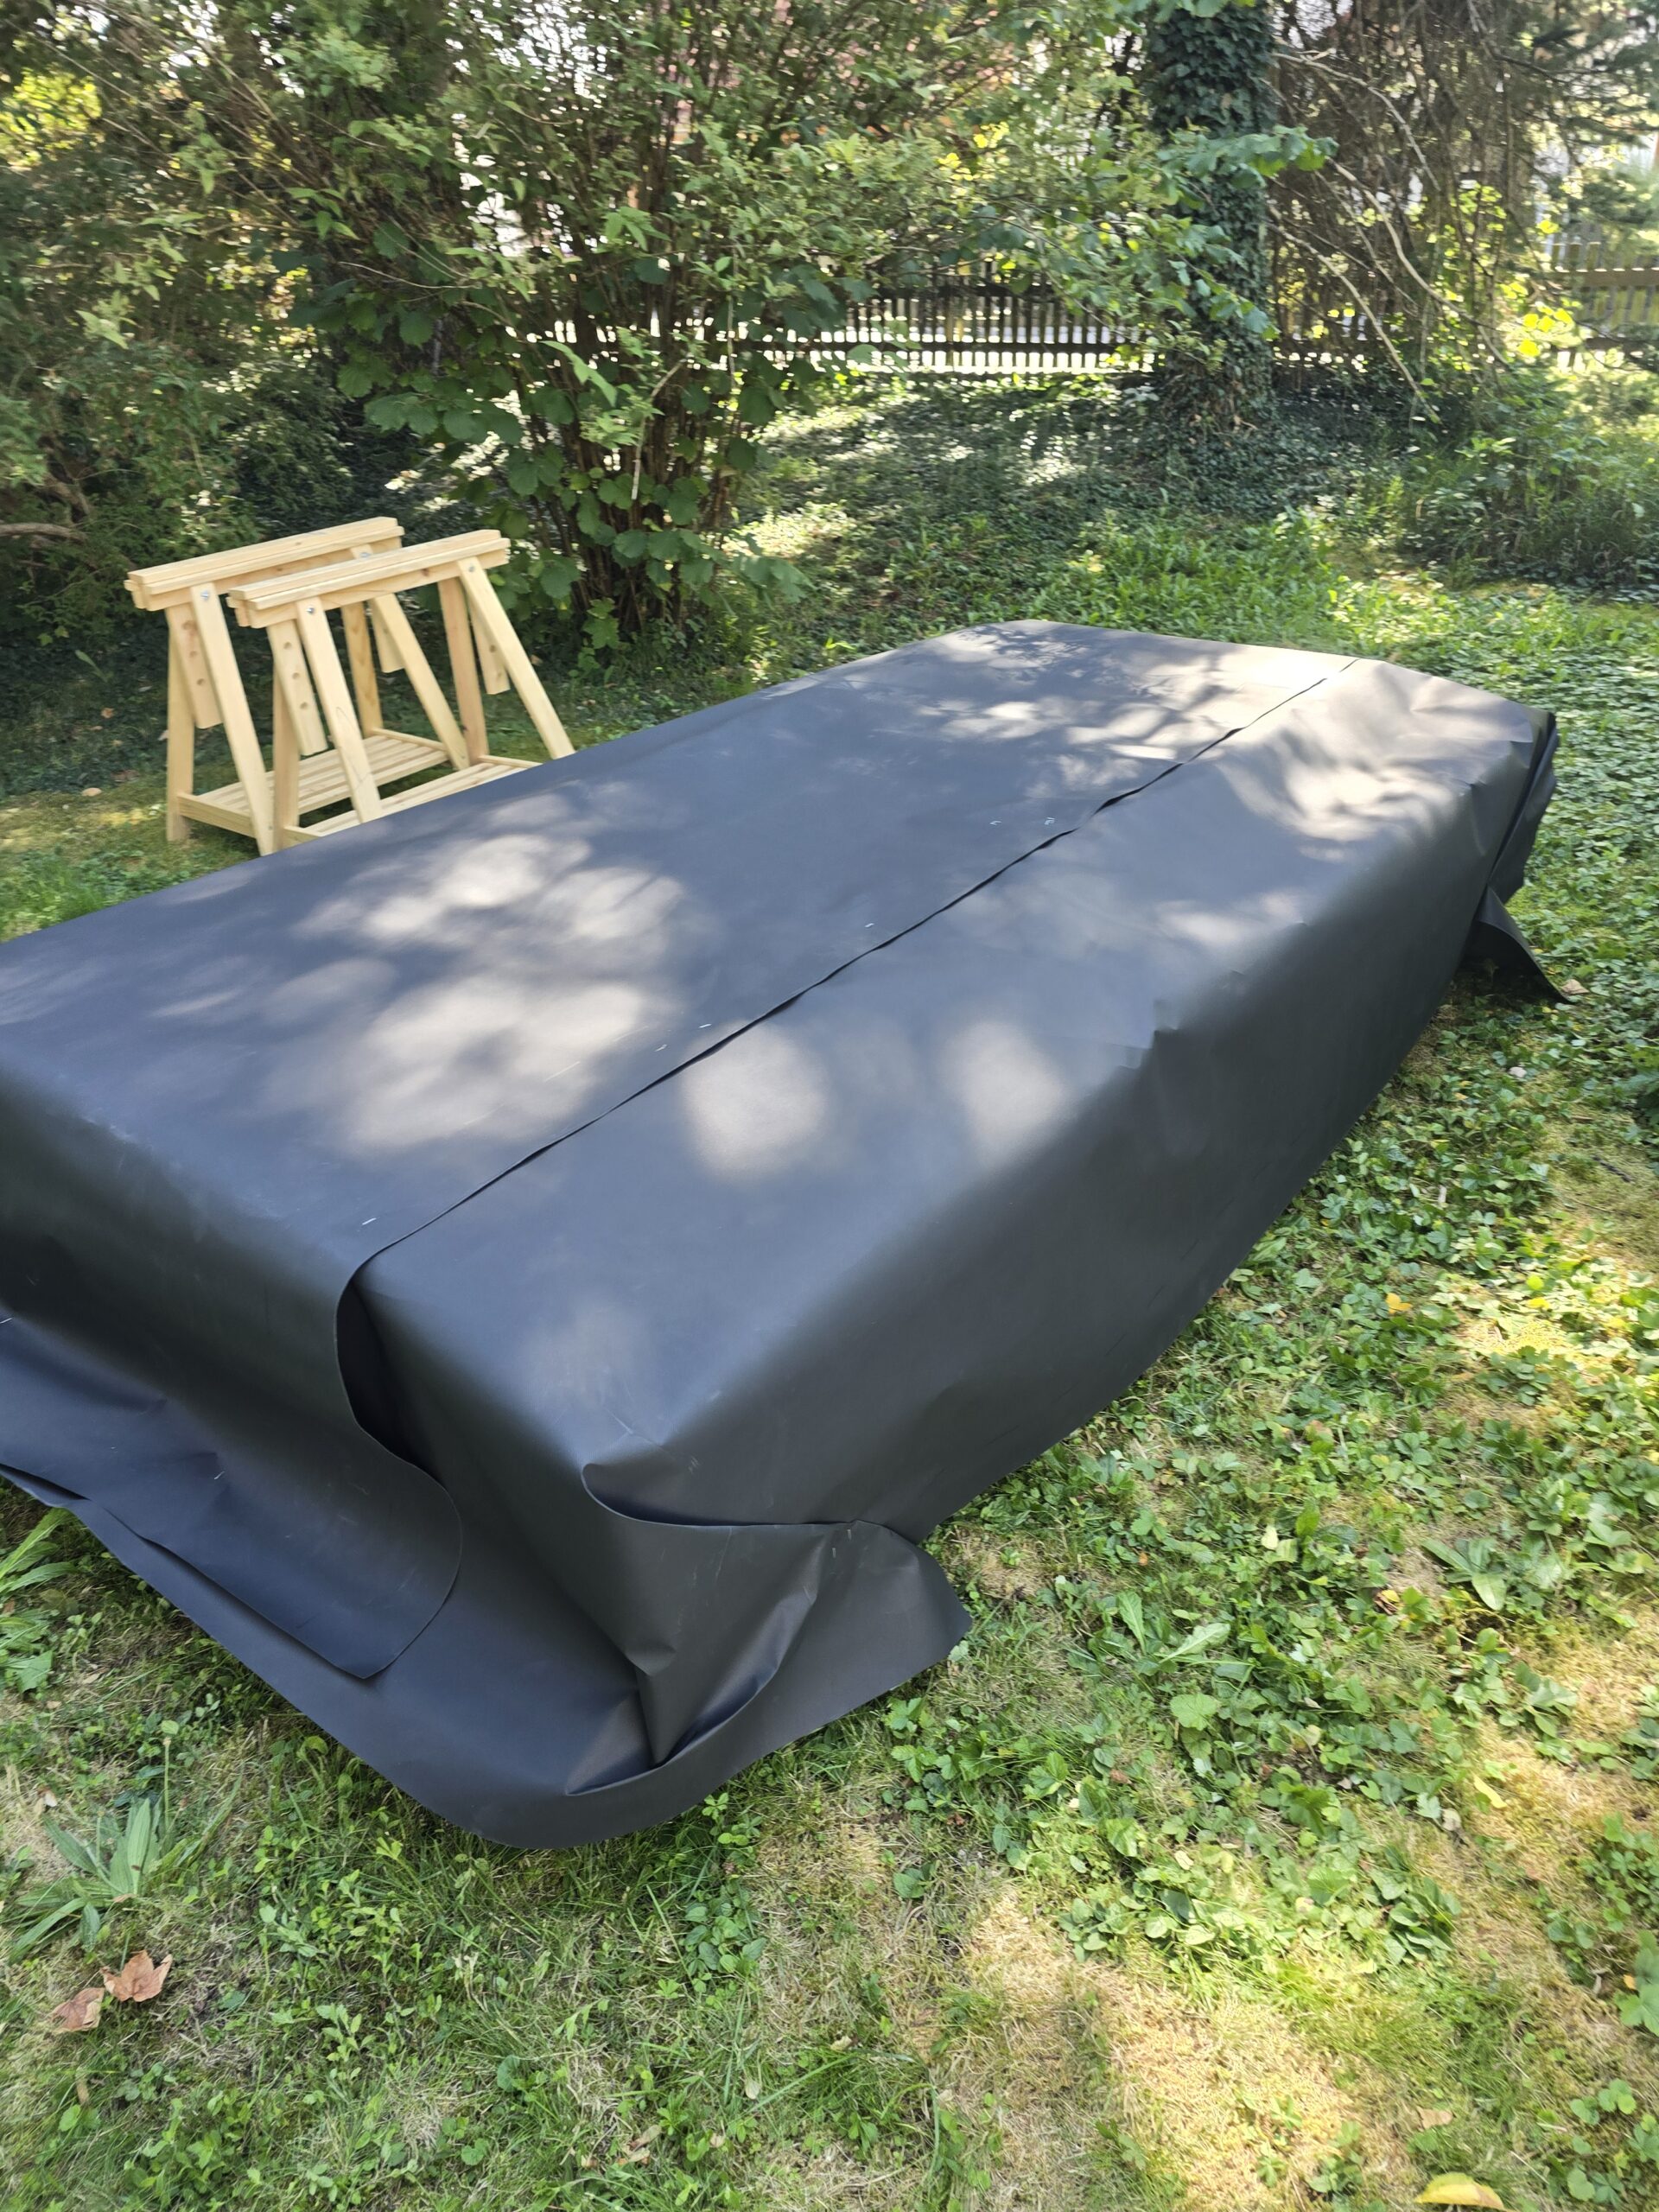
Preparing the roof membrane
The roof membrane is laid out before the edges are finished. This intermediate stage shows the still-overhanging membrane edges and the transition from preparation to the final roof finish.
06 / IN DETAIL
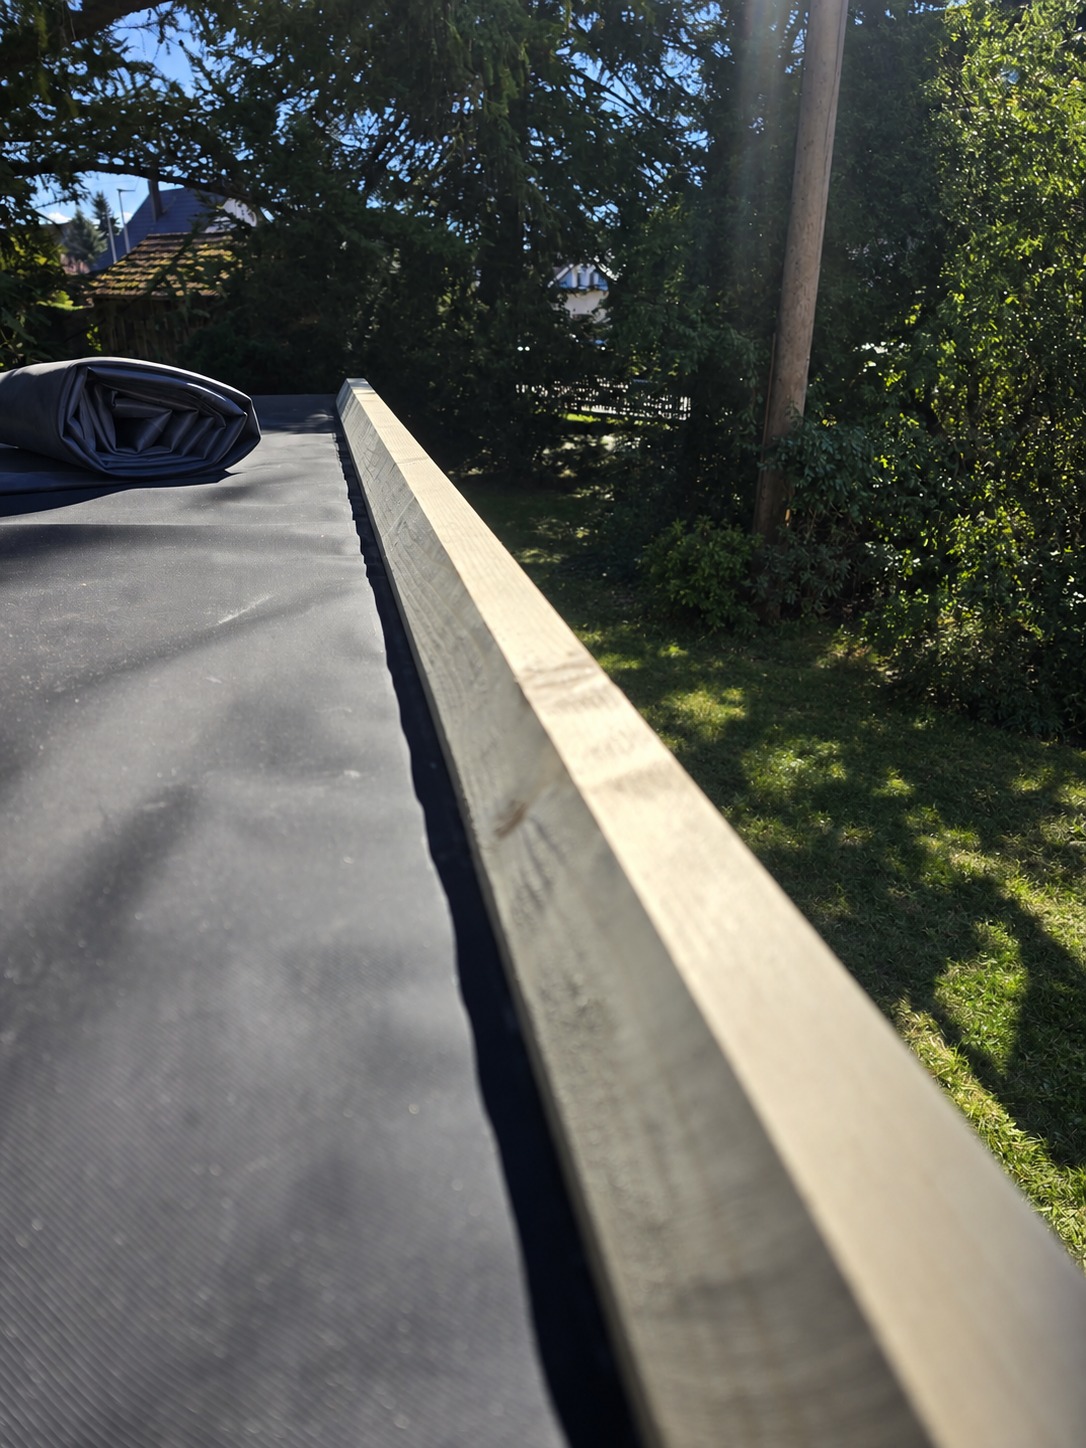
Inside the roof edge
During assembly, the membrane and timber edge remain exposed. The photo shows the edge before its final cover is fitted, complementing the view of the completed detail.
07 / IN DETAIL
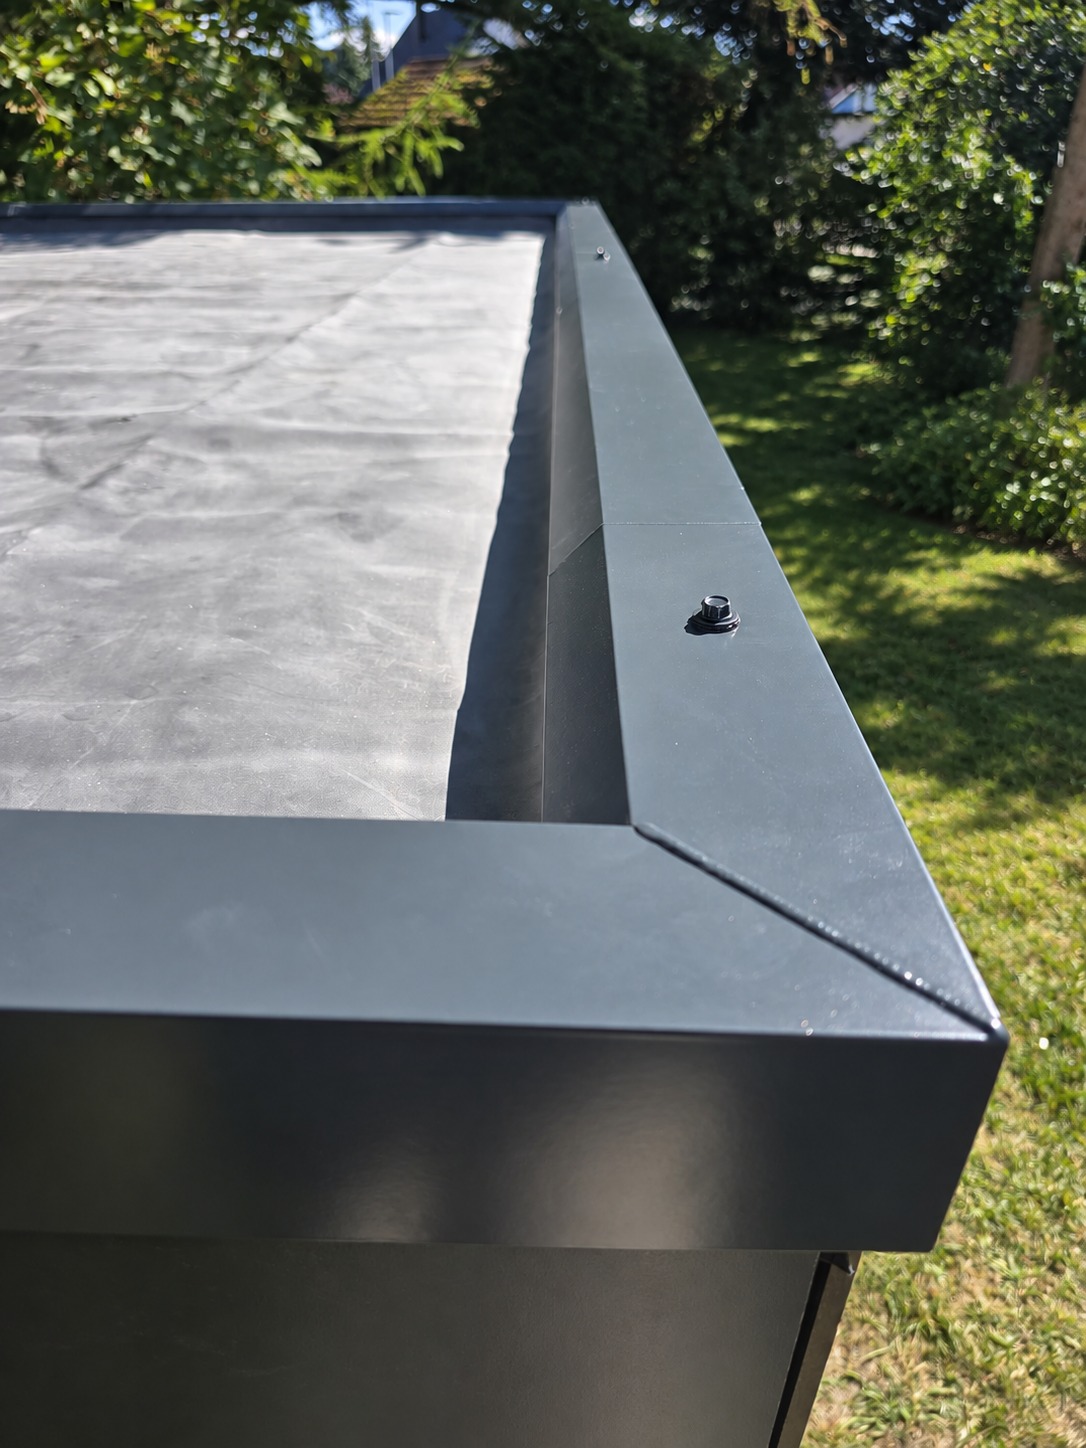
The finished roof edge
The finished roof edge shows corner detailing, profile joints and a fastener with a sealing washer. The dark cover frames the upper edge and completes the exterior appearance.
08 / IN DETAIL
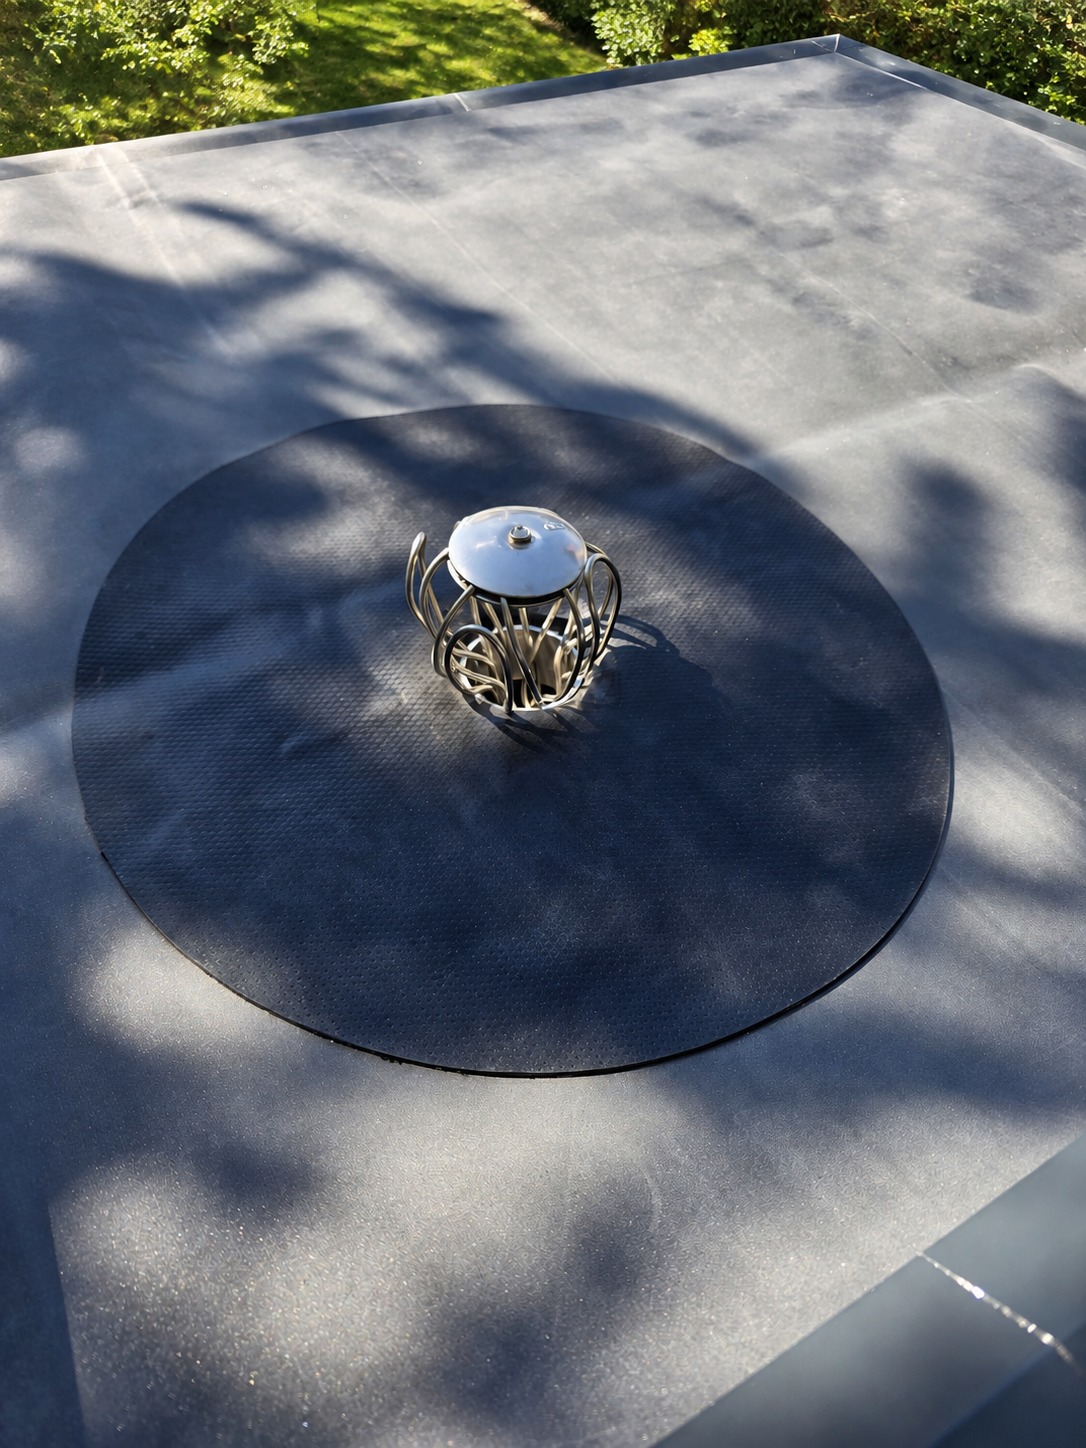
Roof drain with leaf guard
The drainage area has a raised leaf-guard basket. This close-up shows the basket and its surrounding connection to the roof membrane, a component easily hidden in exterior views.
Photos show different stages of manufacture and assembly. We agree the exact equipment and specification of your Garden Cube in your individual quotation.
Design your Garden Cube →